Home stretch! Recovering the newly stuffed couch with our new fabric!
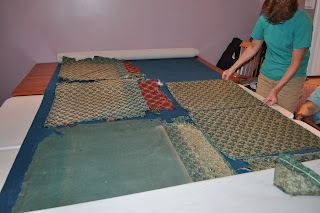
Using three tables to create a large work space, we unrolled the 18 yard bolt of fabric I purchased for the project.
We ironed the pattern pieces from the old fabric so they would lay flat and we could be sure to get the correct shape cut in the new fabric.
We then laid the pattern pieces atop the new fabric. This can be a bit like putting together a puzzle, because you need to know you have enough fabric for everything and the arrangement of the pattern pieces in such a way as to maximize the new fabric- all before you start cutting! Once you cut, you can't undo it. We also measured the couch with the new stuffing (which we made fuller than it had been previously) to be sure we put the margin we needed into the new fabric.
Once the pieces were cut, it was simply putting the new fabric on, pulling it tightly and smoothly through to the frame on the back of the couch, and being sure to still leave room for the trim and nail heads at the end, stapled the fabric to the frame.
Some of the old fabric had snips and cuts to make the fabric easier to pull through and to keep the fabric from puckering. We did not cut those snips into our new fabric until we had it on the couch and could see what we needed and then snipped little by little until we got the result we wanted.
Busily at work!
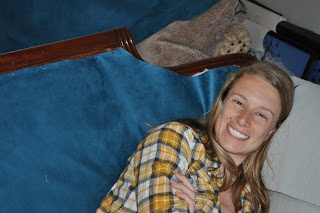
Taking a break- and looking like I've been working on a couch for 6 days. You can see where part of the fabric along the time has been stapled to the frame. We did the center straight edge along the top first, then went back and did the curves of the back, which took more time and was difficult to keep from puckering.
You can see the back and seat are done, and so is the arm on the left. The right arm is in progress.
Here we are using tack strip to create a straight rolled edge along the back of the couch, because the back will not be trimmed, although we decided in the end to put nail heads along the back in case we ever move and don't have the couch along the wall. We also used tack strip to create a n edge along the underside of the arms.
Trim and nail heads finally in place! We used a ruler to measure each nail head exactly 2" apart, and then gently hammered them in.
At last! The finished product!
We've been using it for a little over a month now, and we love it! The micro-suede has been easy to clean when needed, and the color was exactly what I was looking for.
Ready for the next project,
-Domestic in the District


You never cease to amaze me. Awesome job!
ReplyDelete