Following a change in wall color (from Pratt and Lambert's Grape
Hyacinth to Benjamin Moore's Cliff Side Grey) our dining room suddenly
seemed incredibly neutral. And not in a good way.
While
on vacation with a friend whose eye for design I adore, I
not-so-casually steered the conversation to brain storming how to add
interest to my blank canvas of a room. We discussed utilizing vibrant
color on a large scale to maximize the impact, while also keeping in
mind that my home decor budget is a humble one. I left our conversation,
and that vacation, with fresh inspiration to get to work on creating my
own color fields for our dining room.
During one of my parents' visits to the District, I seized the opportunity for my Dad's help (and his pick up truck) to head to Home Depot to purchase the essential elements for the job, although I was not planning to get started right away.

What project doesn't kick off with measuring, a little math on a napkin, and a strong cup of coffee?
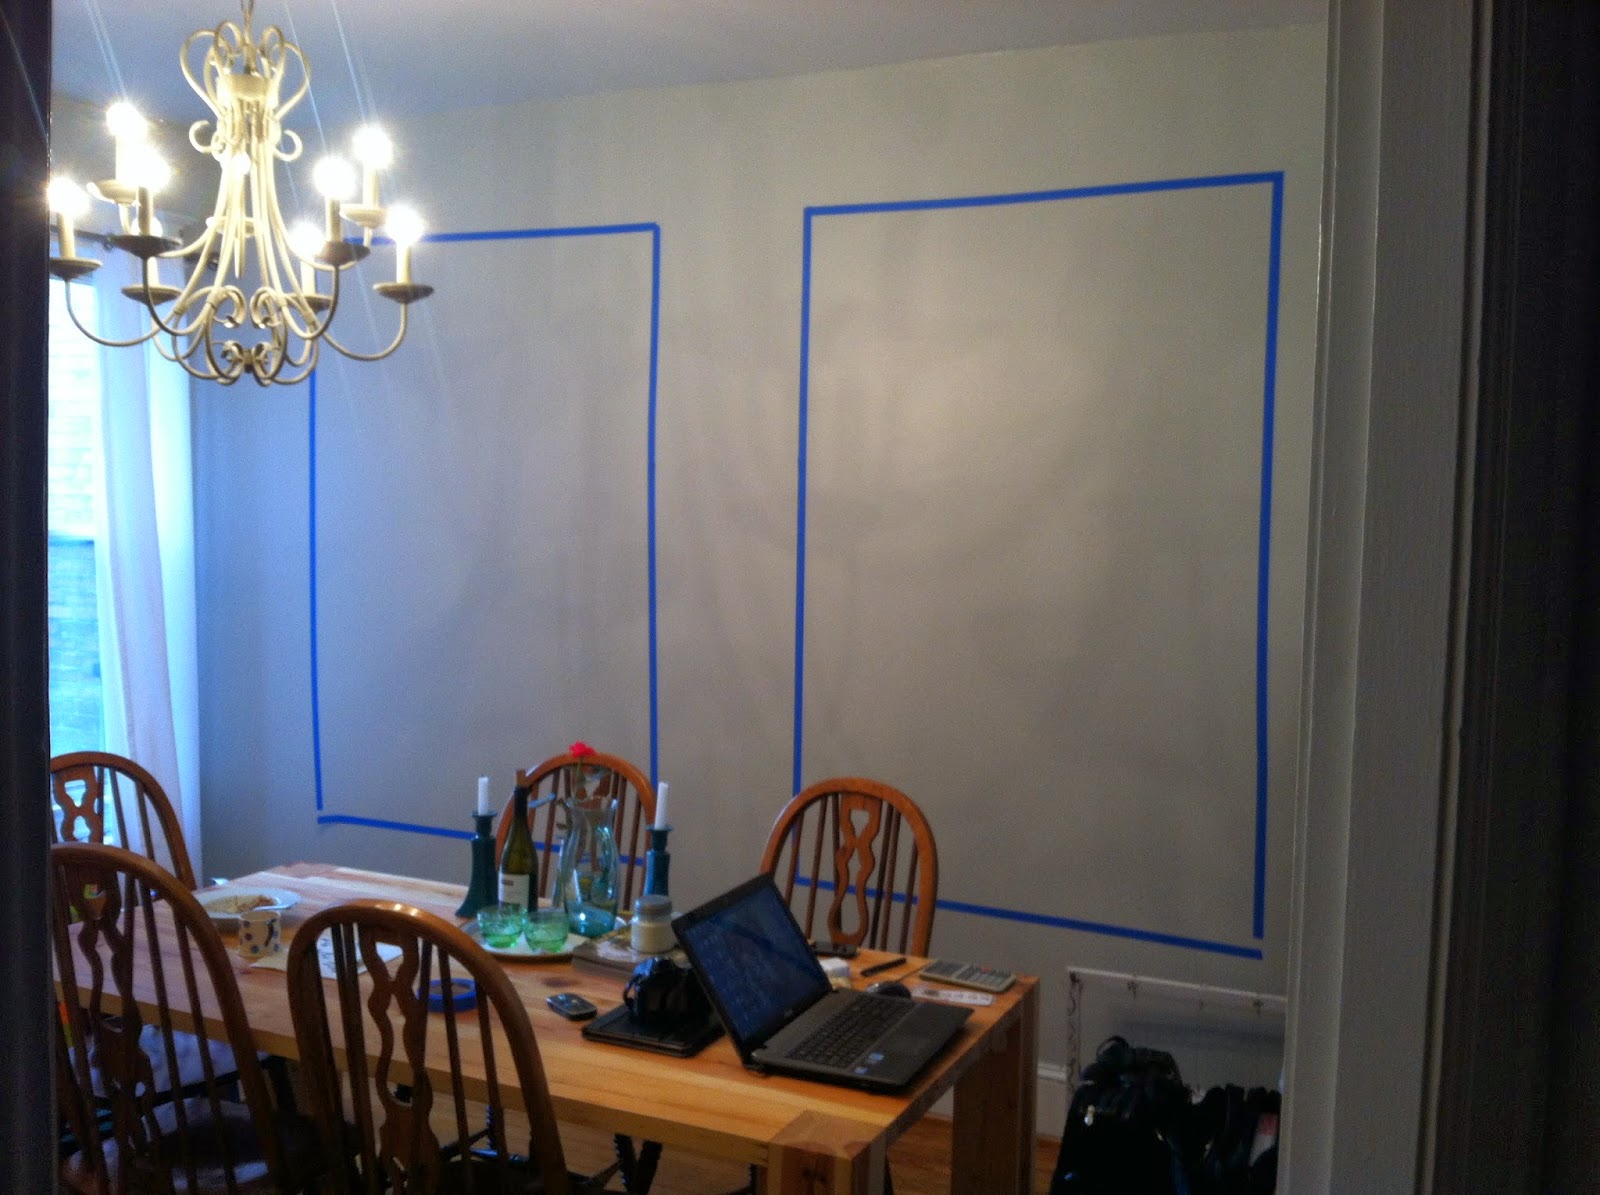
Once I sorted through the numbers, I used blue painters tape to mimic the size of the paintings I was considering. This allowed me to determine if I liked the scale and placement. This can be an easy step in any project to skip over, but whenever possible, find a way to run a test or sample of the end results of the job, often it can save you from spending more time and money later to fix an avoidable error.

Trips to Home Depot really do make me happy. After considering various options for the "canvas" of my paintings, I settled on interior-grade Lauan plywood, 3/16" thick. One of the biggest considerations for this project was the weight of the boards, as the walls of our dining room are plaster. By choosing a thinner plywood, I was able to get the size I wanted without exceeding the weight the plaster could support.
Other tools for this project included:
3/16"x5-1/2" carbide tipped concrete drill bit (for masonry drilling)
1/4" Tap Con pan-head anchors (to secure boards to the wall)
blue tape
trash bags
hand trough
joint compound
paint brushes
primer
paint key
paint
paint stir sticks
disposable containers to mix colors
sharpee (to label the mixed colors)

Using a hand trowel, I applied joint compound to the boards to help create texture for the finished product.

Joint compound applied, I allowed it to set for 24 hours.


Once the joint compound set, I applied a paint primer so the compound wouldn't soak in the paint unevenly. Then, I spent the week painting different layers and colors of paint, mixing colors and painting shades a top shades. Whenever the baby napped or went to bed, I pulled out my containers of paint, and pulled out my brushes. Turned on music, and just enjoyed painting.
Something my mom taught me about painting projects which require more than a few hours of work: If you are mid-project and have to stop painting, you can tightly wrap up your paint brush in a wet paper towel and plastic wrap, then put the wrap and brush inside a plastic bag. Squeeze the air out of the bag, seal shut, and stick the brush in the refrigerator. This allows you to pick up where you left off without going through the process of washing and drying your brush. This works well over night or for a day. Don't intentionally store your brushes this way long term. The best approach for caring for paint brushes long term is to properly wash and dry them between uses.

After a week of layering and looking at the color fields in different light, I decided I was finished. I love the cheerfulness of the finished product. Of course, it won't surprise you to learn that I love Rothko's work. You can read more about his work, inspiration, and story here. You can also learn more about the color field movement here.
What custom art have you created for your own space?
-Domestic in the District

My custom artwork, for our "dining area", consists of a photo of a New Zealand mountain at dusk with Q1 of the Heidleburg Catechism printed as an overlay.
ReplyDeleteSarah Bradshaw- very cool. Did you do the overlay yourself?
ReplyDeleteIt was fun to witness the beginning of this project as well as being able to enjoy the finished artwork! Well done!
ReplyDelete